

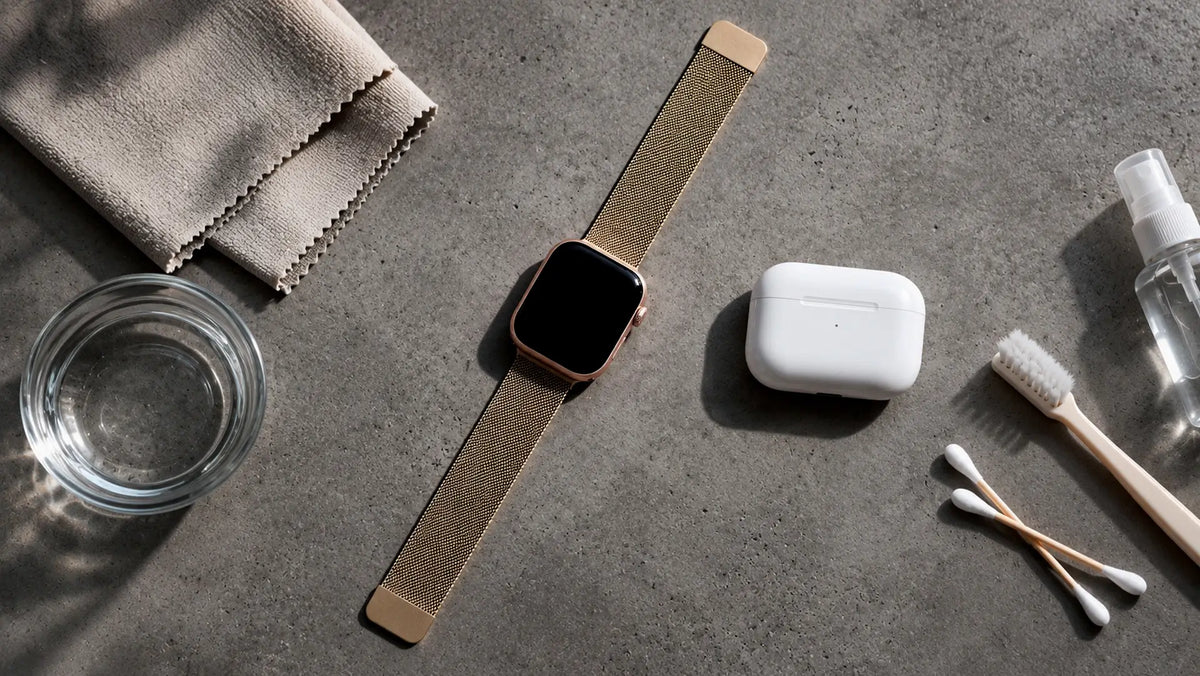
A Milanese Loop can collect sweat, skin oils, and dust between its fine metal strands. To clean a Milanese Loop Apple Watch band, remove it from the watch, gently wipe the mesh with a soft, lint-free cloth, and dry it thoroughly before reattaching it.
The process is straightforward, but cleaning requirements can vary depending on the band's material, finish, and closure. Make sure the method you use is suitable for your particular band.
Before You Clean: Check Your Milanese Loop
Milanese Loop bands may look alike, but they're not all made the same way.

Apple's traditional Milanese Loop uses woven stainless steel mesh with a magnetic closure. The Titanium Milanese Loop uses titanium and a buckle instead. Third-party versions may have different finishes, magnetic closures, or no clasp at all.
For Apple-branded metal bands, Apple recommends wiping them with a nonabrasive, lint-free cloth, lightly dampened with fresh water if needed, then drying them before reattaching them.
Third-party bands should follow their own manufacturer's care instructions. For example, Eclipex One Flex uses a continuous woven 316 stainless steel loop without a magnetic clasp. Its care instructions allow warm water, a small amount of mild soap, and a soft cloth.
Two bands can look similar but have different cleaning requirements. If you're unsure about your band's material or finish, check the manufacturer's instructions before using water or cleaning products.
How to Clean a Milanese Loop Step by Step
You only need a few basic supplies for routine cleaning. The goal is to remove surface residue without damaging the metal mesh, finish, or connecting parts.
What You'll Need
- A soft, nonabrasive, lint-free cloth, such as microfiber
- A small amount of fresh water
- A second clean, dry cloth
- A clean, dry surface to work on
Don't use soap, metal polish, or other cleaning agents unless your band's manufacturer permits them.
Step 1 - Remove the Band From Your Apple Watch

Press the band release button on the back of your Apple Watch and slide the band out of its slot.
If it doesn't slide out easily, make sure you're pressing the release button all the way down. Don't pull harder. Set the watch aside somewhere clean and dry.
Removing the band lets you reach both sides of the mesh without exposing the watch to unnecessary moisture.
Step 2 - Gently Clean the Metal Mesh
Start with a dry microfiber cloth to remove loose dust and surface residue.

If dirt remains, lightly dampen part of the cloth with fresh water. It should be damp, not dripping. Gently wipe the mesh, paying particular attention to the underside that rests against your wrist.
Turn the band to clean both sides. Use short, gentle strokes rather than scrubbing vigorously, and avoid pulling or bending individual metal strands.
Wiping can remove surface buildup, but some particles may remain trapped deeper in the weave. Don't try to dig them out with a tool.
Step 3 - Wipe the Edges and Closure
Dirt can also collect around the watch connectors, edges, and closure.

Use a clean section of the lightly dampened cloth to wipe these areas. On a magnetic Milanese Loop, clean around the magnetic closure without pushing anything into its openings. For a buckle-style band, wipe the exposed surfaces without prying the mechanism apart.
A continuous loop without a clasp has fewer closure components to clean, but its watch connectors still need attention.
Step 4 - Dry and Inspect the Band
Wipe the entire band with a second dry, lint-free cloth, including the underside, edges, and connectors.
If the weave still feels damp, leave the band in a clean, well-ventilated place until it's dry. Avoid using a hair dryer, heater, or other direct heat source to speed up drying.
Before reattaching the band, check for remaining dirt, loose strands, sharp edges, or damage around the closure and connectors.
Once the band is dry and appears intact, slide it back into your Apple Watch and make sure it locks securely. If a connector doesn't lock or the closure appears damaged, don't wear the band until the problem has been resolved.
What if Dirt Is Still Trapped in the Mesh?
Even after cleaning both sides, you may notice residue between the woven strands. Sweat, skin oils, and other buildup can settle into spaces a cloth can't easily reach.
If the residue appears loose, try another gentle pass with a lightly dampened cloth, as long as your band's care instructions allow it. If it remains, check for other signs before deciding what to do next.
| What You Notice | What to Consider | Safer Next Step |
|---|---|---|
| Dark residue between the strands | Dirt or skin oils may still be trapped in the weave. | Check the manufacturer's instructions before trying another cleaning method. |
| A lingering odor | Moisture or residue may still be present. | Make sure the band is fully dry. If the odor persists, ask the manufacturer about further cleaning. |
| Discoloration that won't wipe away | The finish may be stained, worn, or otherwise altered. | Stop scrubbing and check the manufacturer's care guidance. |
| Loose strands, sharp edges, or closure damage | The problem may be physical damage rather than dirt. | Stop wearing the band until it has been assessed. |
Stronger chemicals or harder scrubbing can cause additional damage without removing the original mark.
Cleaning Methods to Be Careful With
Online cleaning advice often suggests soap, toothbrushes, soaking, or ultrasonic cleaners. Whether any of these methods is suitable depends on the specific band.
Can You Use Soap?
Sometimes. Check the manufacturer's instructions.
Apple's cleaning guidance allows mild soap for certain bands, including the silicone Solo Loop. That doesn't mean the same advice applies to its metal Milanese Loop.
If your band's manufacturer allows mild soap, follow its instructions for applying it, rinsing, and drying.
Is a Toothbrush Safe for the Mesh?
Some cleaning guides suggest using a soft toothbrush to remove dirt from between metal strands. But even soft bristles can put pressure on fine wires or rub against delicate finishes.
Unless your band's manufacturer recommends brushing, don't assume a toothbrush is safe for the mesh. Avoid stiff brushes and sharp tools.
Can You Rinse or Soak a Milanese Loop?
Wiping a band with a damp cloth isn't the same as rinsing it under running water or submerging it.
Water can reach spaces within the mesh and around closure components that may be difficult to dry. Follow the care instructions for your particular model rather than assuming every metal band can be rinsed or soaked.
What About Ultrasonic Cleaning?
Some owners report using ultrasonic cleaners on metal watch bands, but individual experiences don't establish that the method is safe for every Milanese Loop.
Without approval for your specific model, it's unclear how ultrasonic cleaning might affect coatings, magnetic closures, or other components.
Don't put your Apple Watch in an ultrasonic cleaner. Apple advises against ultrasonic cleaning for the watch itself. For a detached Milanese Loop, check with the band manufacturer before considering this method.
How to Keep Your Milanese Loop Clean
Regular care can help prevent everyday residue from building up in the metal mesh.
After workouts or long periods of wear, check the underside of the band where it touches your wrist. Sweat, sunscreen, lotion, and soap residue can collect there even when the outside looks clean. Wipe away visible residue as needed, and let the band dry before wearing it again.
There's no single cleaning schedule that works for everyone. How often your Milanese Loop needs attention depends on how you wear it, what it comes into contact with, and the manufacturer's care instructions.
Check the woven strands, watch connectors, and closure occasionally for signs of wear or damage. Cleaning can remove residue, but it can't repair damaged mesh or worn components.
The simplest approach is to deal with buildup early and avoid unnecessary force. Gentle cleaning, thorough drying, and occasional inspection are the basics of caring for a Milanese Loop.
One Less. One Flex.
The Next-Gen Milanese Solo Loop
Shop One FlexShare:
Apple Watch SE Band Size Guide: SE 1, 2 & 3
How to Adjust a Metal Watch Band: A Guide to Different Band Types